
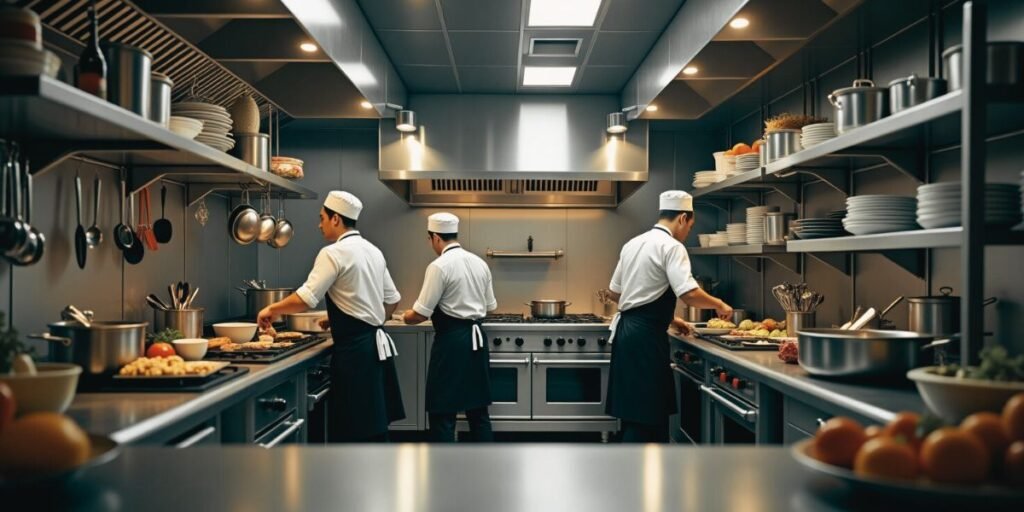
A good commercial kitchen layout moves food in one direction, from receiving and storage to prep, cooking and the pass, while dirty dishes flow back on a separate path. Pick a layout style that fits your menu and space, keep each station supplied so cooks do not walk, and leave enough aisle room for staff to pass safely.
Shop the equipment in this article: work tables, wall shelves and cooking equipment. Freight is included on every order.
This guide explains the main layout styles, how to place stations, common aisle and work-surface practices, and the mistakes that are expensive to fix after the equipment is in.
Start with the flow
Before picking equipment, trace two paths on your floor plan.
- Food path: delivery door, then cold and dry storage, then prep, then cooking, then the pass, then the dining room.
- Dish path: dining room, then dish drop, then washing, then clean storage, then back to the line.
The two paths should cross as little as possible. Raw ingredients should not travel through the area where ready-to-eat food is plated, and dirty dishes should not pass over clean prep surfaces.
The main layout styles compared
| Layout | How it works | Suits | Watch for |
|---|---|---|---|
| Assembly line | Stations in a straight line from prep to finish | Pizza, sandwiches, bowls, high-volume short menus | Needs a long wall; hard to adapt to a big menu |
| Zone | Separate areas for prep, cooking, baking, cold food and dish | Large menus, banquet and catering kitchens | More walking between zones; needs good planning |
| Island | Cooking equipment in the center, other stations around the walls | Larger square kitchens, open communication | Needs an island hood and room on all sides |
| Galley | Equipment on two parallel walls with an aisle between | Narrow spaces, food trucks, small cafes | Aisle width is critical; two-person traffic is tight |
| Open kitchen | Line visible to guests | Restaurants that show the cooking | Noise, heat and cleanliness are on display |
Placing each station
Receiving and storage
Put cold and dry storage close to the delivery door so product goes away quickly. Keep food off the floor on shelving. The FDA Food Code generally calls for food to be stored at least 6 inches above the floor.
Prep
Prep stations need work tables, a prep sink, cutting boards and cold storage nearby. Wall shelves above the tables keep tools and containers off the surface. Work tables typically run around 34 to 36 inches high, a comfortable height for most cooks.
Cooking line
Group equipment under the hood by cooking method, and put the units used most at the center of the line. Use refrigerated bases or prep tables under or beside the line so cooks pull ingredients without walking. Keep a landing space next to fryers, ranges and griddles.
The pass
The pass connects the line to the floor. Give it room for plates, a ticket rail and heat lamps or strip warmers for short holds.
Dishwashing
Place the dish area close to the dining room entry so servers drop plates without walking through the line. A typical setup runs dirty dishtable, then sink or machine, then clean dishtable, then storage.
Handwashing
Hand sinks should be easy to reach from every prep and cooking area. Many health departments set requirements on how many hand sinks you need and where they go.
Aisle space and clearances
- As a common practice, many planners allow around 36 inches for an aisle used by one person, and more, often 42 to 48 inches, where staff pass each other or carry hot pans.
- Leave room for oven and refrigerator doors to swing fully open without blocking the aisle.
- Follow each appliance manufacturer’s clearance requirements, especially for gas and heat-producing equipment.
- Keep a clear path to exits and to fire suppression controls.
These figures are practice, not a code. Local building, fire and health rules may set their own requirements, and your local health department has the final say on the food safety side.
Planning checklist
- Write the menu and list the cooking method for each item.
- Measure the room, doors, windows, columns and ceiling height.
- Mark the existing hood, gas lines, electrical panels, drains and water lines.
- Draw the food path and dish path.
- Choose a layout style and place stations along the paths.
- List equipment by station and check each footprint and utility need.
- Check aisle widths and door swings on the drawing.
- Have the plan reviewed by your health department before you build. Many require plan review for new or remodeled kitchens.
Layout mistakes to avoid
- Buying equipment before measuring the space and utilities.
- Putting the dish area on the far side of the kitchen from the dining room.
- Too little cold storage at the line, which sends cooks to the walk-in during service.
- Equipment that needs a hood placed outside the hood’s coverage.
- Aisles where open doors block traffic.
- No plan for where clean dishes and dry goods will be stored.


Frequently asked questions
What is the most efficient commercial kitchen layout?
It depends on the menu and the room. Assembly lines suit short, high-volume menus. Zone layouts suit large menus. Galley layouts suit narrow spaces.
How wide should kitchen aisles be?
As a common practice, around 36 inches for one person and more where staff pass each other. Check local codes.
Do I need approval for my kitchen layout?
Many health departments require a plan review for new or remodeled food service kitchens. Ask your local health department before you start.
Where should the hand sink go?
Within easy reach of prep and cooking areas, and not blocked by equipment or storage.
Equipment for each station of your layout
Build prep stations with stainless work tables and wall shelves, then fill the line with cooking equipment and reach-in refrigerators placed close to the cooks. Plan the wash area with commercial restaurant sinks and dishtables near the dining room entry.